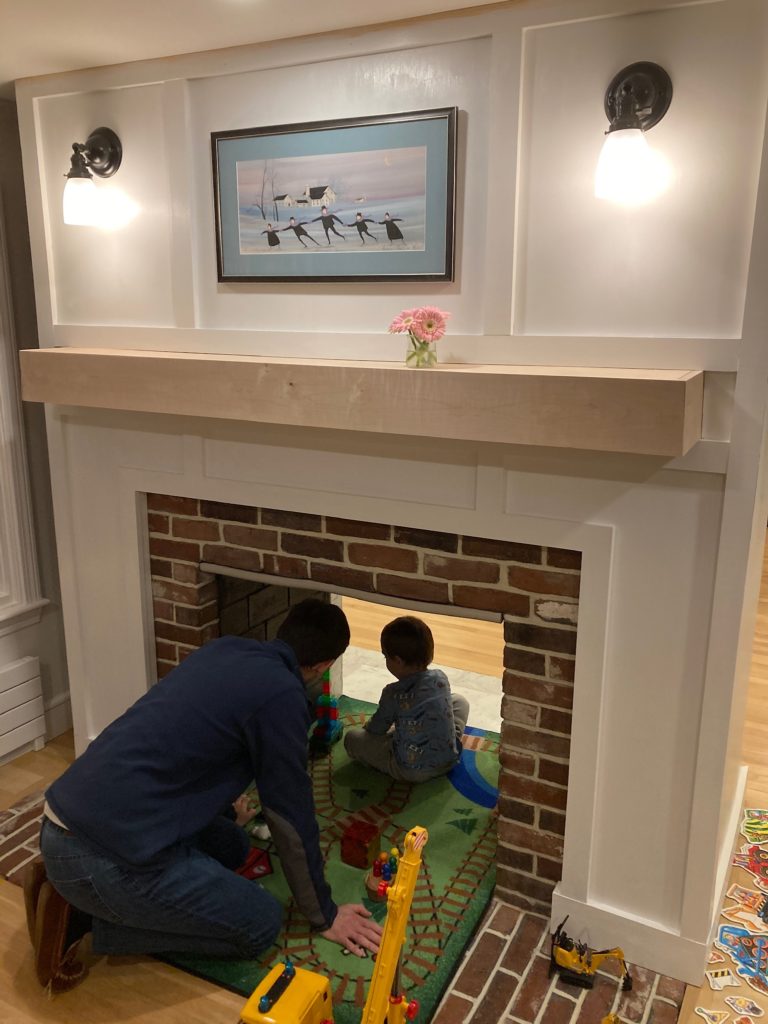
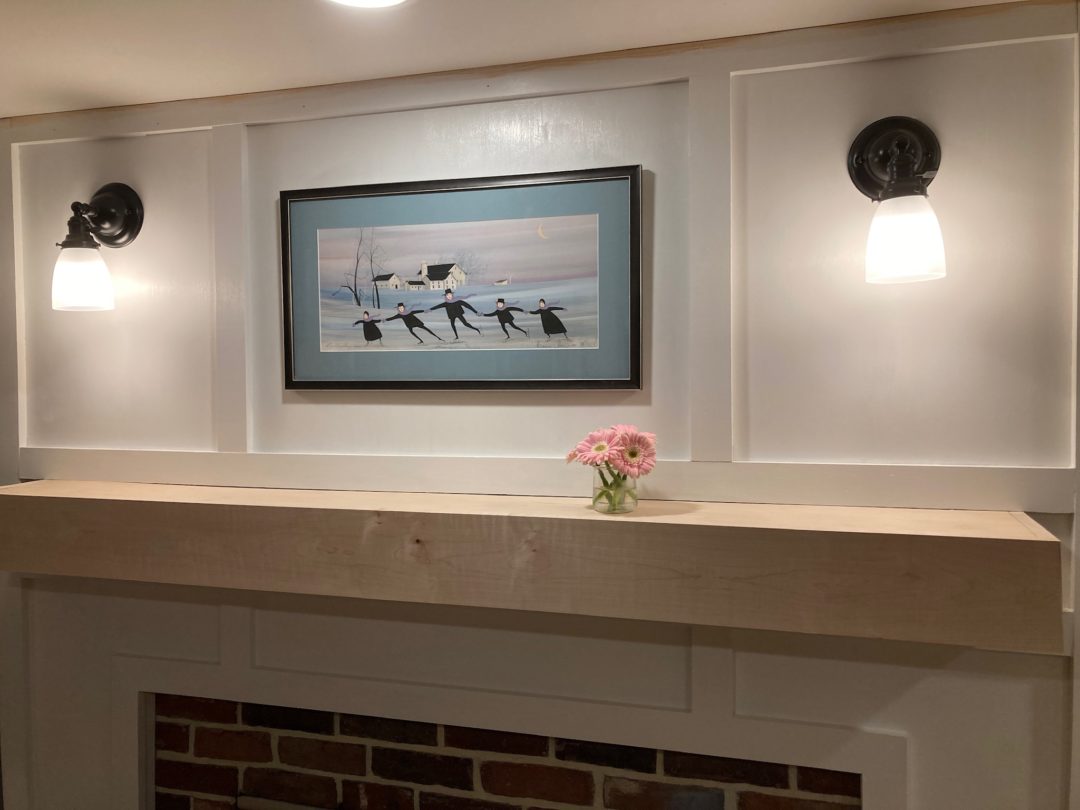
My only home goal for this Covid winter has already been accomplished! I had planned to re-face our living room fireplace for a while, and winter seemed like the perfect time to do that. Unfortunately, I didn’t account for having to cut a lot of wood outside so we ended up working in some pretty chilly conditions. Now that it’s done, I can safely say it was worth it!

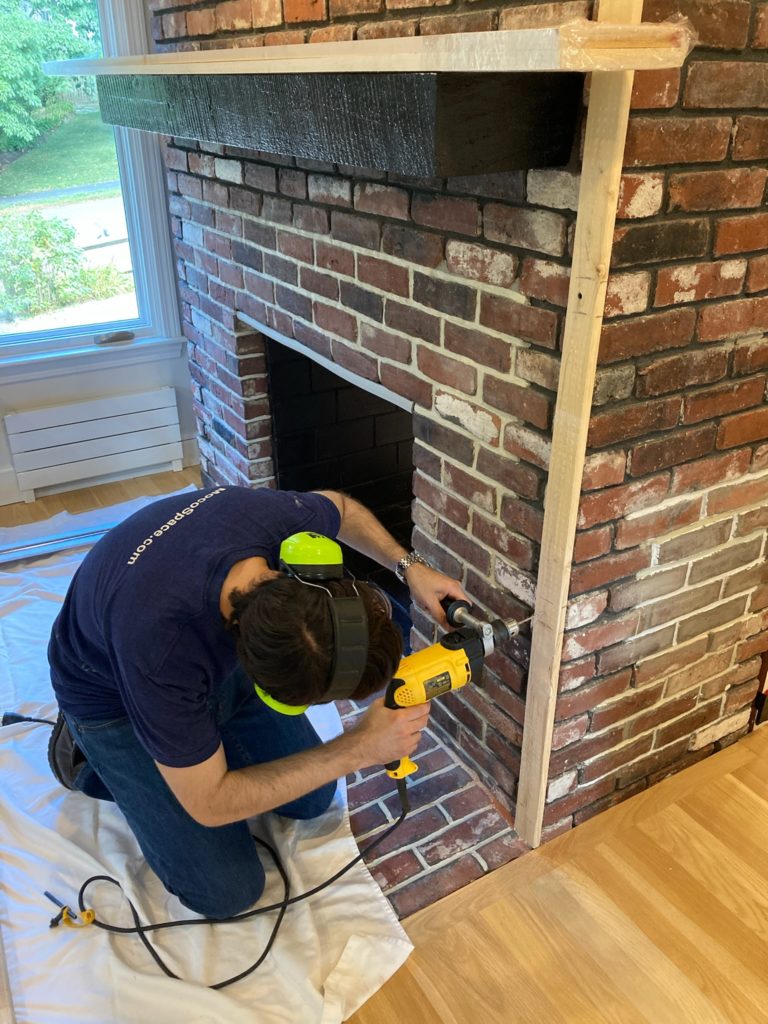
The fireplace wasn’t awful before, of course. It was just big and red… and ugly. Rich liked the brick, though, and said he would never use an impact hammer again, so the brick around the opening and on the hearth stayed. Most of it is covered up now, though!

We started off installing furring strips at all the edges where the plywood would need support. Given that nothing in our house is straight or at right angles, this was an arduous process.
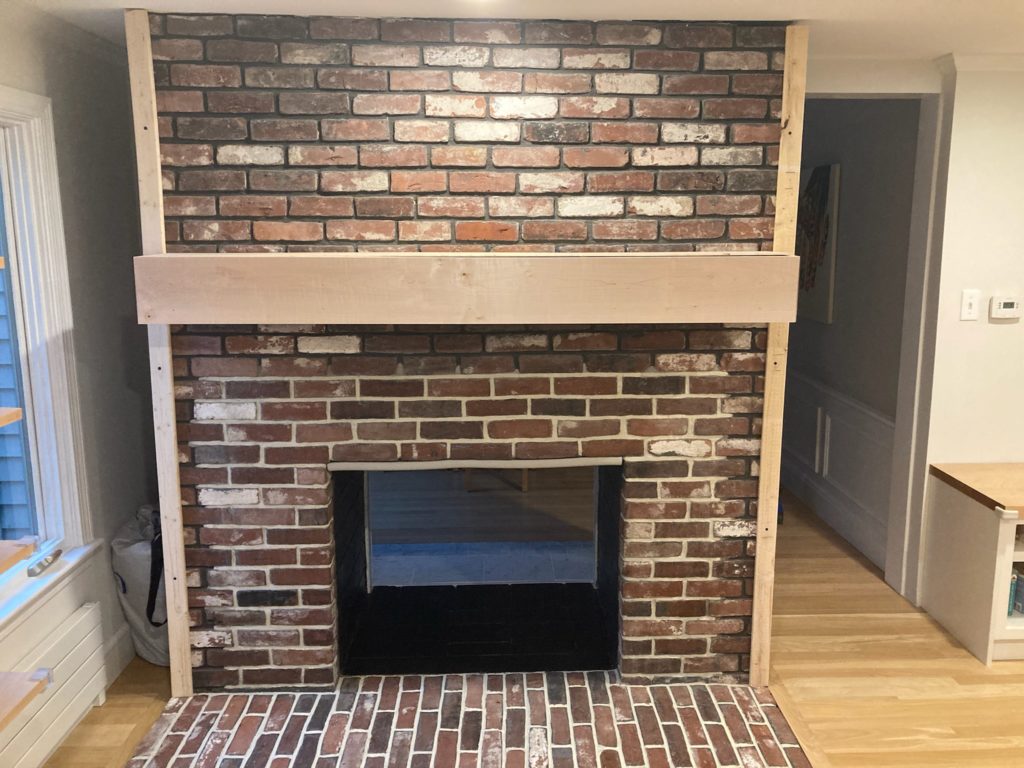
The next step was to cover the mantle. If we had started from scratch I probably would have chosen something with more detail. However, I was not taking a sledge hammer to this thing. We bought some really nice maple plywood and solid wood, and basically followed this tutorial.
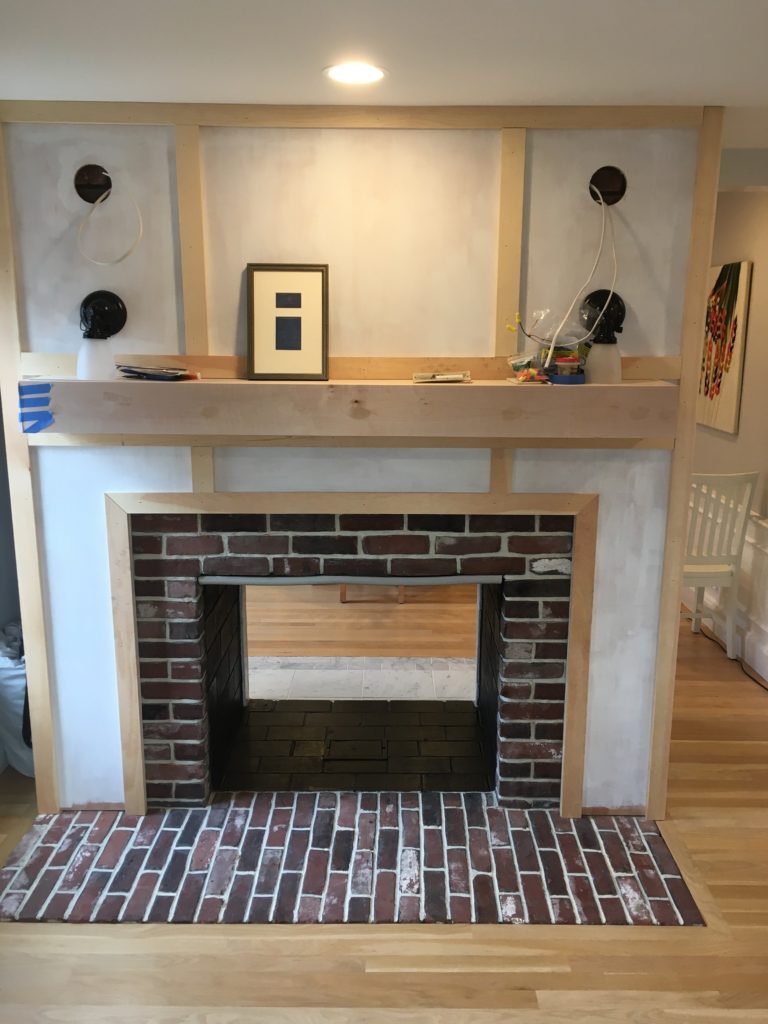
Then we cut the plywood for the resurfacing: 1/2″ for the face and 1/4″ for the return wall, since we didn’t want to make the doorway any narrower. We thought we were being too careful about measurements, but given that the furring strips were only about 2″ wide, it turned out to be necessary. We also did some of the electrical work, although probably not enough. I definitely recommend pulling the wires all the way through and taping them in the right spot so you don’t have to search later!

Then came a quick prime coat, since Rich was concerned the finish trim boards might someday pull away and didn’t want to see raw wood behind them

We added the trim boards and a few finishing touches in the form of return strips near the opening and molding at the base.
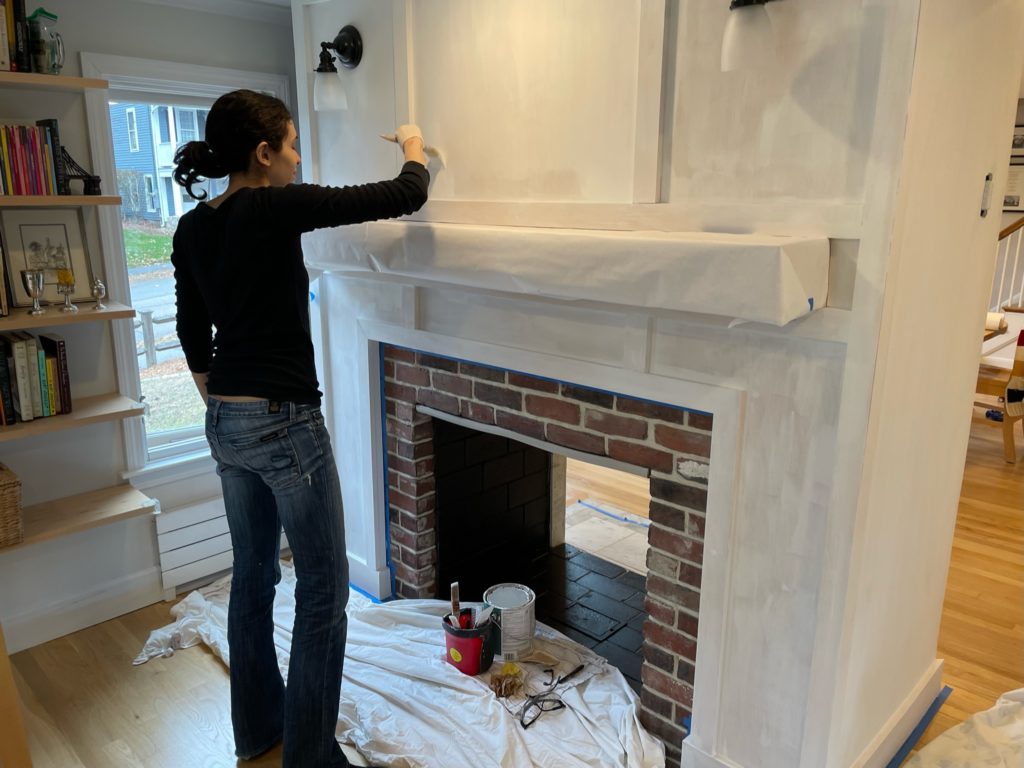
The final step was painting and lighting connections.
As you can see, we are already using it to great effect!



No Comments