This was a job. That we completed over a year ago. Sorry… life with a renovation.
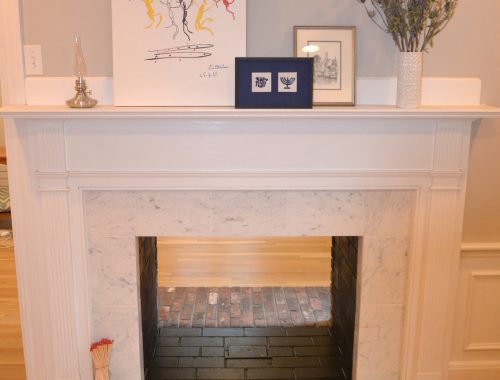
First, there was the planning. We had a brick fireplace. The only change we made to it when we moved in was to paint the cedar mantel a shiny black. It was still ugly. Case in point.
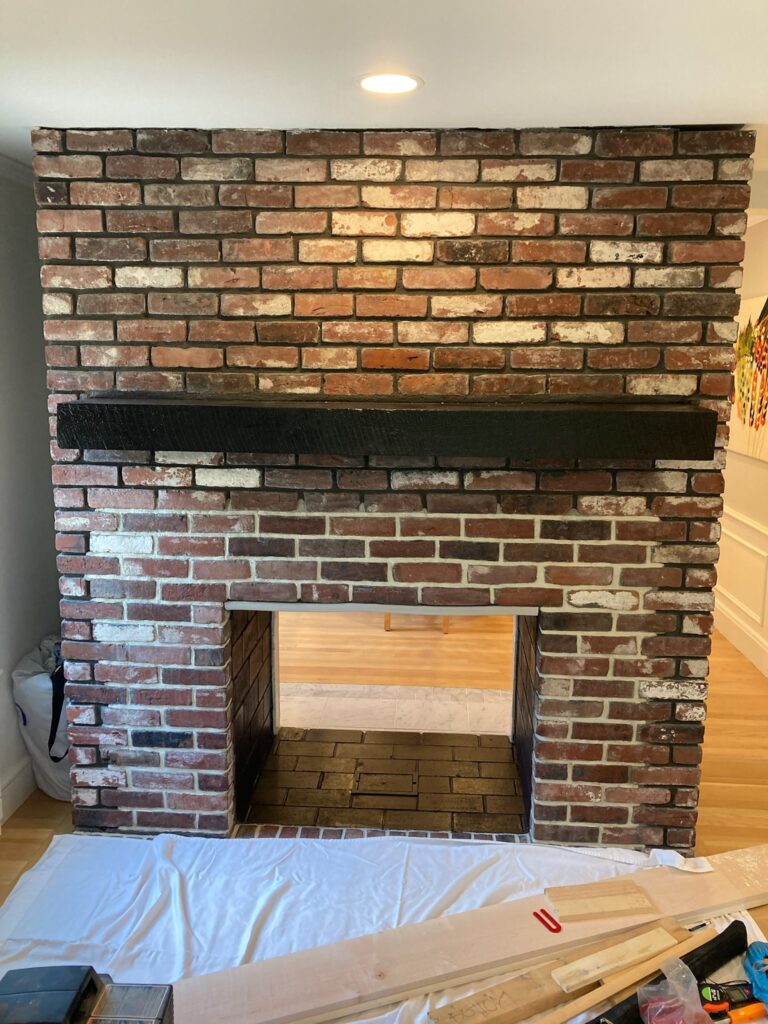
Note I had already done a little big of work when I took this picture. You can see the mortar joints around the fireplace opening look much whiter. I re-grouted them since they were very convex. Then, so the joints on the hearth matched, I painted all of them. I used a toothbrush and went very slowly. I love the finished result but it was a pain!
For the rest of the brick, I wanted to reface the entire thing with wood and paint it white. I started by outlining the existing conditions in CAD.

Then I decided where all my furring strips would go. Keep in mind this was an iterative process. As I decided where my plywood joints would be aesthetically, I moved the furring strips around. Note that they don’t have to be continuous either, just where the fasteners will go. The purple line is the electrical to wire up the sconces.

I then drew the finish materials.
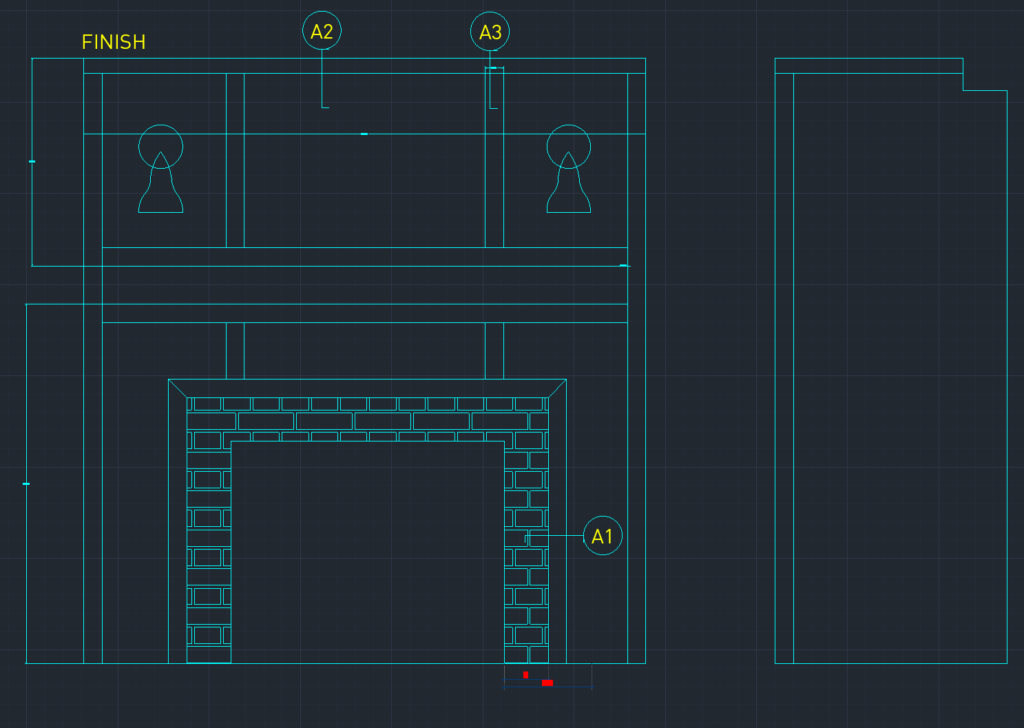
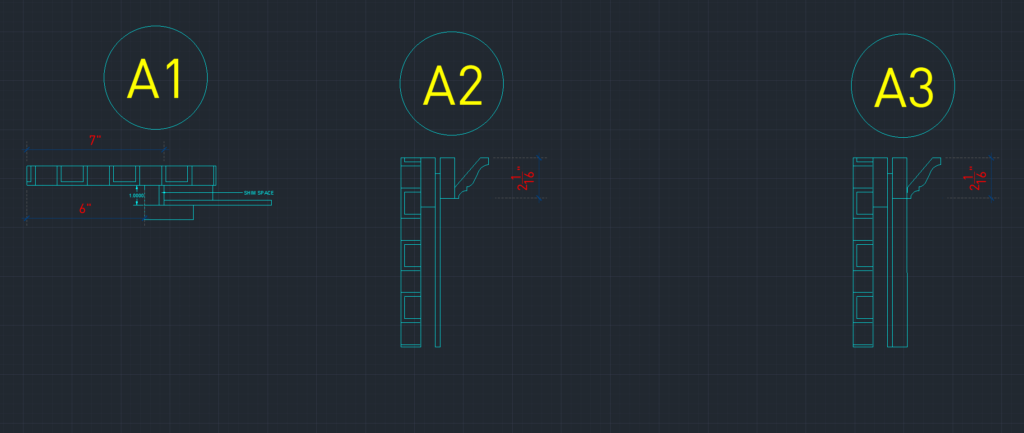
The details I called out can be seen below. Of course, The final result was slightly different after real-life conditions became apparent. For example, did you know that ugly brick isn’t perfectly flat?!
Here is the quick bill of materials I made. You can see I’m not very exact; please make you’re own list because I’m not even sure this is what I ended up purchasing. I think I went with birch plywood for the mantel and oak for the facing since I was painting it anyway.

First, we resurfaced the mantel. We followed this tutorial, but it didn’t work perfectly for us. The left corner is all wonky because everything is out of plane. In retrospect, we should have built the box perfectly square off the mantel, and then slid it on. Hindsight is 20/20.
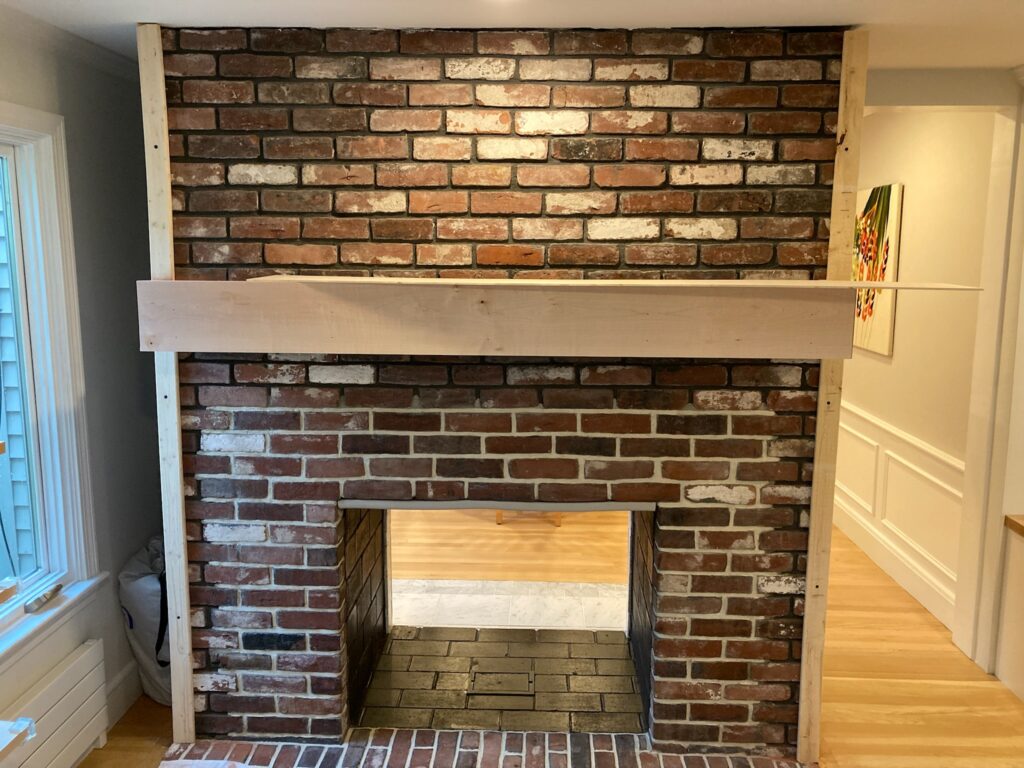
we used the hammer drill to attach the furring strips to the brick.

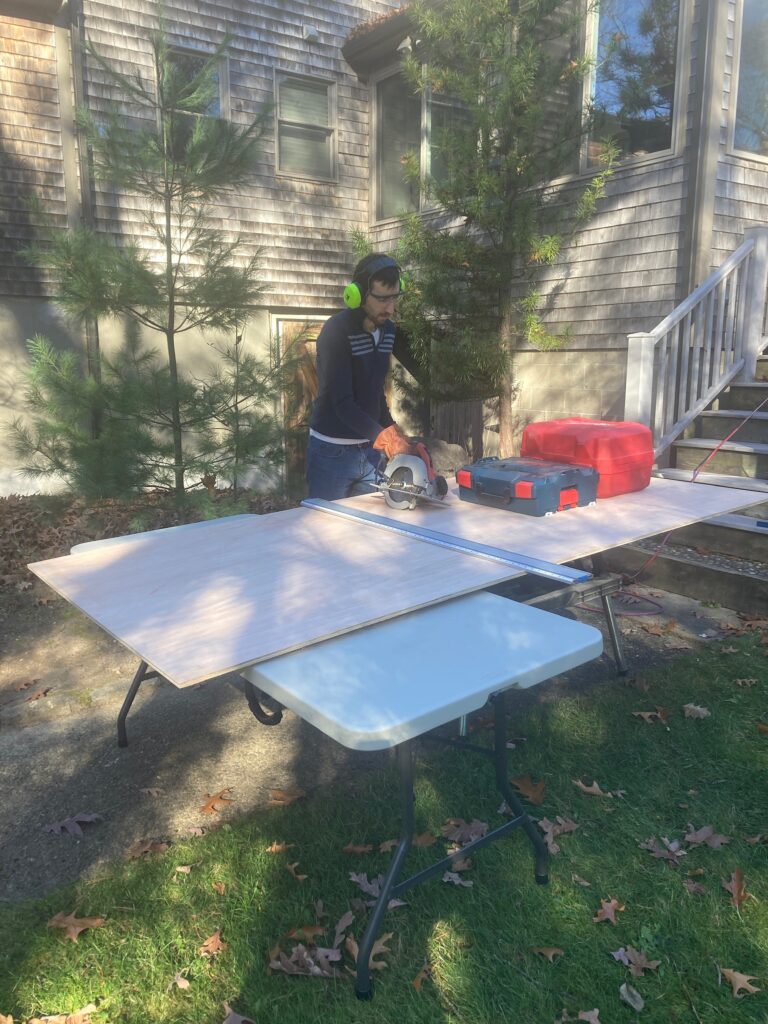
Cutting plywood is always the least fun part since we don’t have a table saw. This is on my wish list, but for now we use a circular saw and a guide. It never works perfectly.
Then came the slow process of installing the plywood to the furring strips.
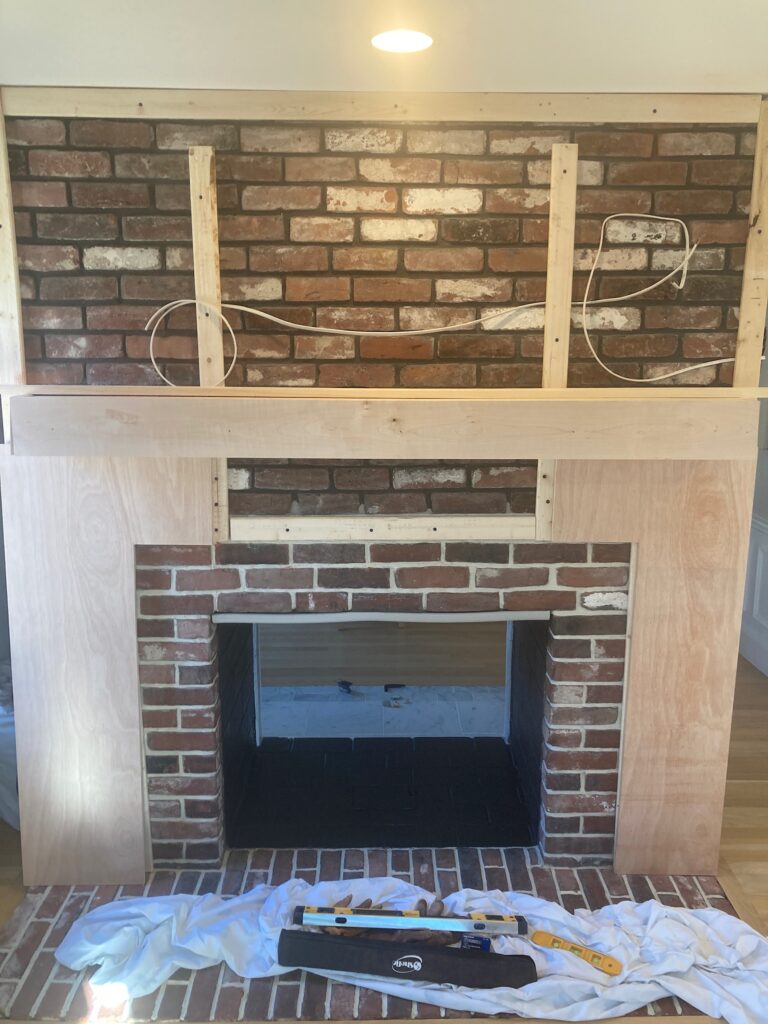
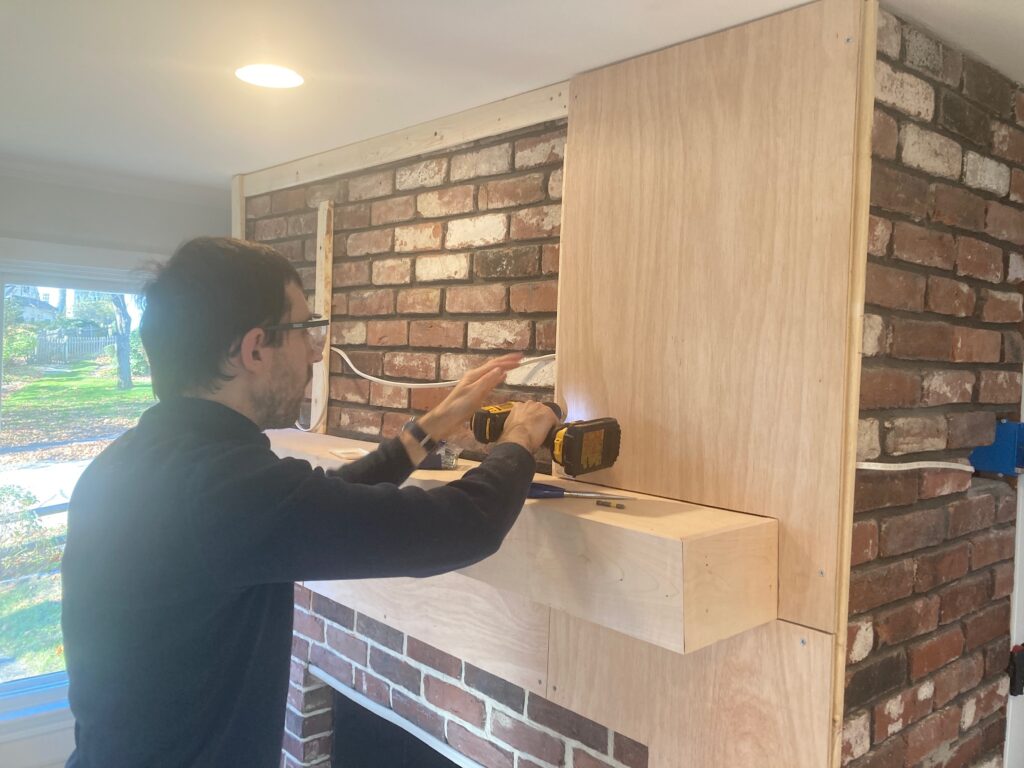
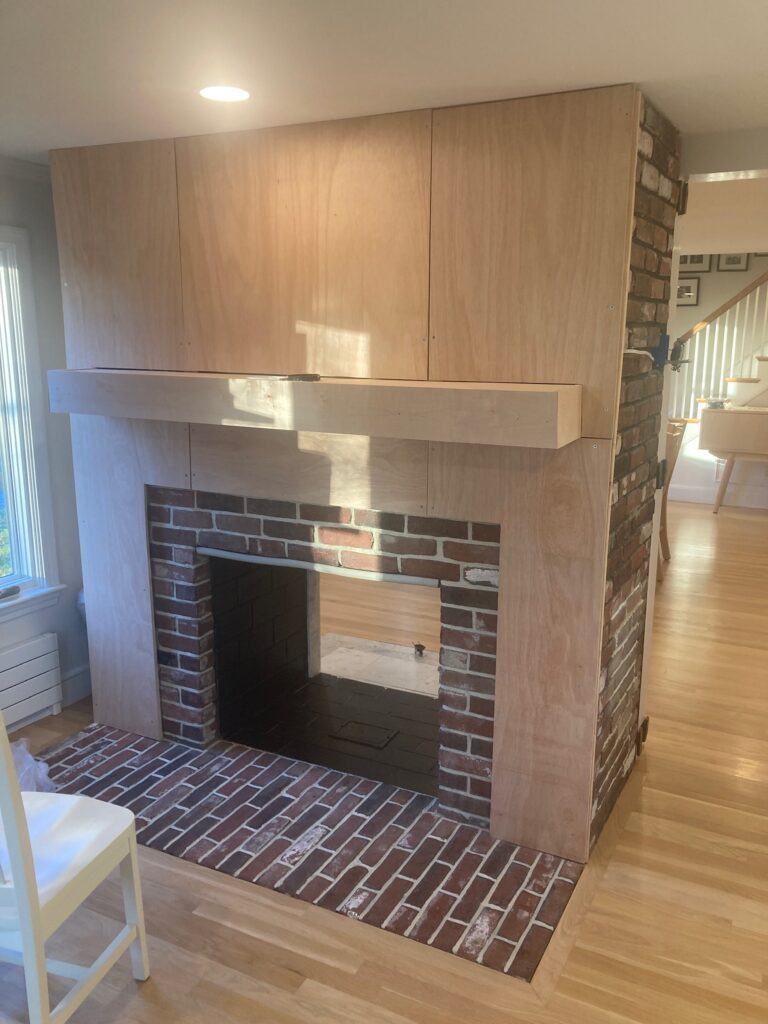
We also drilled the holes for the sconces and primed the whole thing before putting the trim on.

For the trim, we first measured and cut, and then put it all up with tape to make sure it was correct. The most annoying piece was that right-hand corner. It had to be miter-cut on a table saw in my dad’s workshop, so there was a lot of driving around with long pieces of wood in our car.

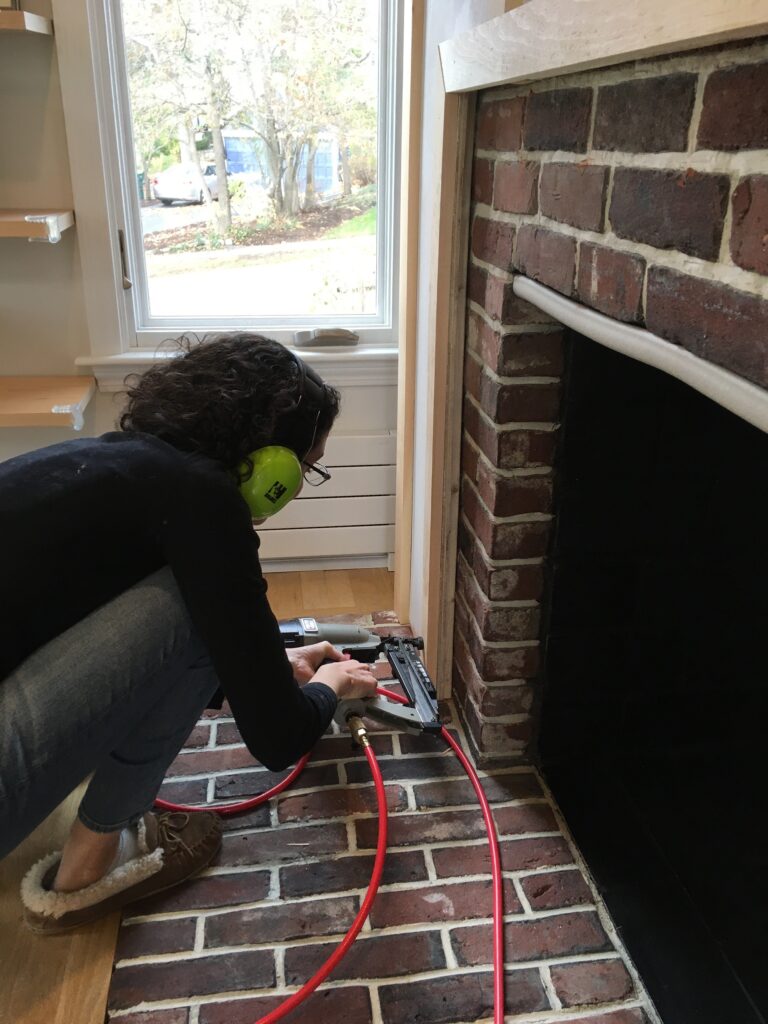
Then we installed the trim using a nail gun, my least favorite tool because of the compressor. I can’t wait to buy an electric one! Also on my list.
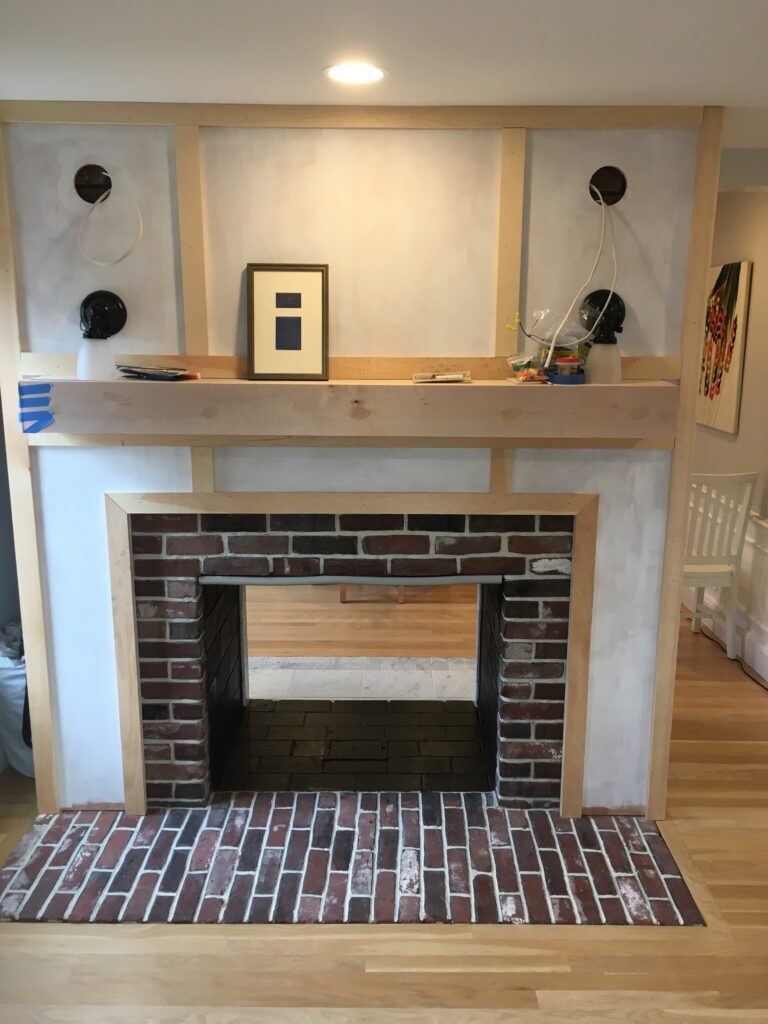
Then my husband installed the sconces. This is one part of the project that I didn’t get good pictures. The electrical was actually much more extensive than just wiring up the sconces. The light switch for the the attic was originally right above the fireplace in the dining room (the other side of this two-way fireplace). I wanted to move that switch to the return wall anyway, the one covered in brick. So we removed one brick – easier said than done – and moved the switch to that side. Then my husband found the tiniest double switch and was able to connect the sconces to the same circuit. It was very difficult to fit all that wiring in the box, but we did it!
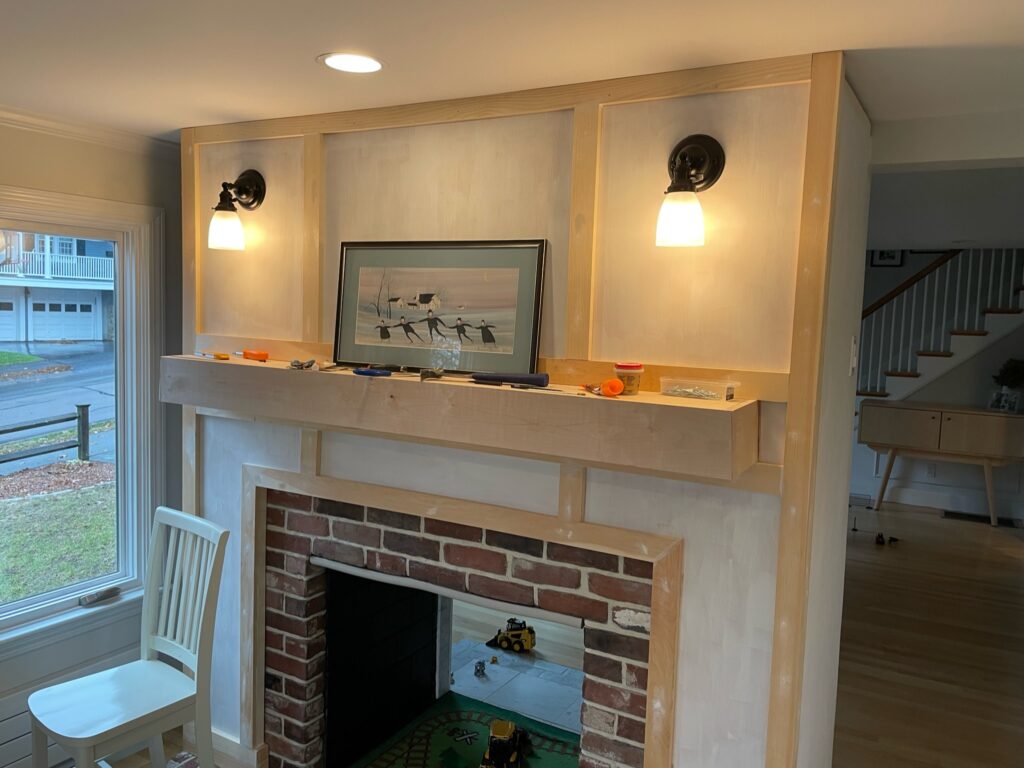
Sometimes I get ahead of myself with the decorating… I bought that painting years ago and it just happened to fit. Dumb luck. Then we painted the plywood! We should have rolled it, but I didn’t have a roller sleeve so I just used a brush.

We are so pleased with the finished product. Of course, we were told by our general contractor less than a year later that we had to remove the return wall to insert a structural column for the big renovation. More details on that to come!



No Comments