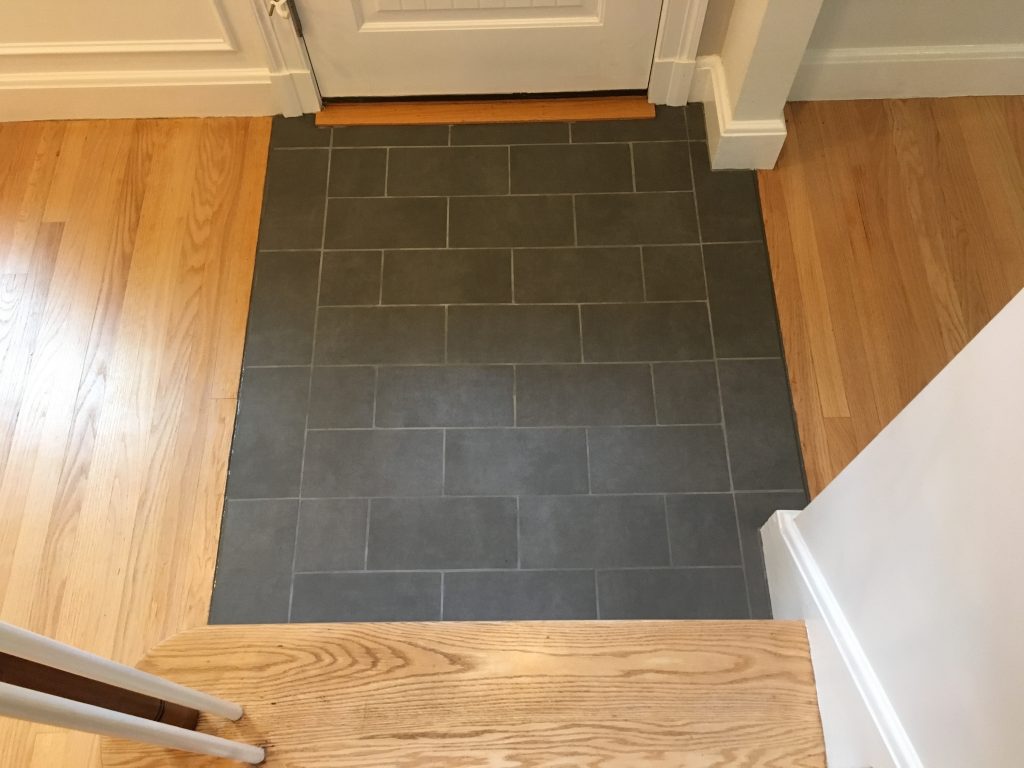
At the entrance to our home sits a patchwork of tile that, until today, was in desperate need of some TLC. Quite possibly an original tenant of our 1948 residence, the grout of this tile work had given up long ago. Funnily enough, the first time Rich put to scrubbing the floors of our new home, a series of mysterious white streaks appeared at various locations above the “grout”. As it turned out, the material in question was actually caulk, used to fill in the gaps of where the grout had already completed disintegrated and colored grey with what looked like permanent marker. DIY at its best. The whole thing had to go.
On the heels of last year’s mudroom renovation, we knew we would one day wish to replace this green patchwork of tile with the same 6×12 porcelain tile we had chosen for the other side of our first floor. We had ordered an extra 3 boxes. By the time we got around to this project, however, we discovered a total of 7 boxes. It turns out, you don’t necessarily need to order that 20% extra the tile store recommends “just in case” when your have a professional do the work. Better to be safe than sorry, though.
If this was such a small project, why did it take so long to get started? Well, just like our hearth remodel, we had no idea what to expect. Was the old tile installed properly? Would we need to rebuild the subfloor? Would we need larger tools? Fortunately for us, an odd thing occurred. The old tiles came up with very little effort and revealed a perfectly pristine subfloor. This job would be easier than anticipated? We were as shocked as anyone.
Still, we ended up having to return to the tile store numerous times before we were done due to one simple reason: no two floors are ever the same height. In the case of our mudroom, the new tile lined up perfectly with the tile in our our kitchen, but not even close to our dining room hardwood. In that case, a threshold was required. While previous tile in this case had lined up perfectly with the wood surrounding it, our new tile was about 1/8 of an inch too thick. With various thresholds and underlayments in hand, we ended up implementing the simplest solution: plywood and thin-set. Using the 45-degree setting on our borrowed tile saw, Hannah’s father set to beveling the 9 pieces of tile that would abut hardwood. Instead of grout for those joints, we would use sanded silicone designed to match our grout. Not a perfect solution, but it would avoid the issue of stubbed toes.
Finally, we set to grouting the space. Although we had done this before, it’s always a scary experience to plop down messy mortar right on top of your shiny new tile. Worse yet, the grout we had ordered, known as “dusty gray”, was coming out quite a bit darker than expected. It would be some time before it dried enough to match the rest of the house. That, on top of the constant cleaning of the tiles required to remove haziness left by the grout, would keep us on our feet (and off the tile) for another couple days. In the end, however, we were rewarded with the exact look we were going for.


No Comments