I have lived in a lot of places, with a lot of closets. I have lived in spaces with no drawers and a closet 3′ wide. I have lived in spaces with lots of drawers and no closet at all. I have lived with walk-in closets that have no purpose, and double-deep closets with two rods. I have never lived in a space with a closet big enough for all my clothes. In other words, I have always had to change my clothes seasonally, and store out-of-season items in boxes.
To be fair, I could have gotten rid of clothes. But I love all my clothes and for the most part – as long as they are machine-washable – wear them all. So my goal for my new closet was ‘no storage boxes’. Alas, as you’ll see, I still require two. Maybe I should donate the cashmere sweaters inside of them.
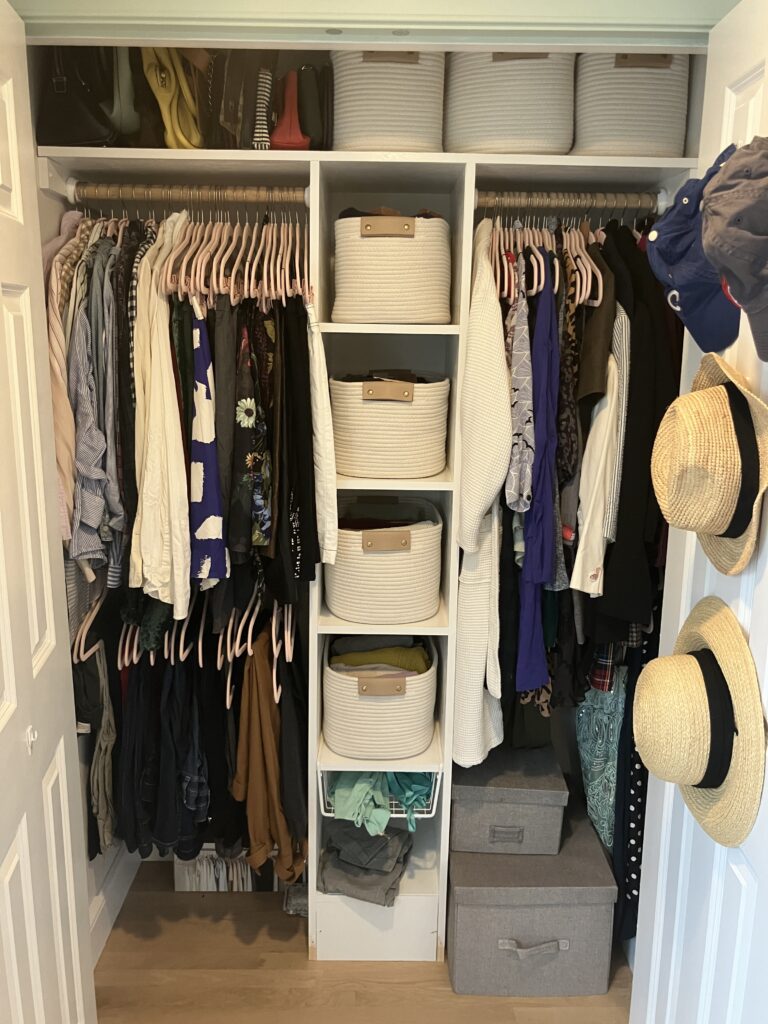
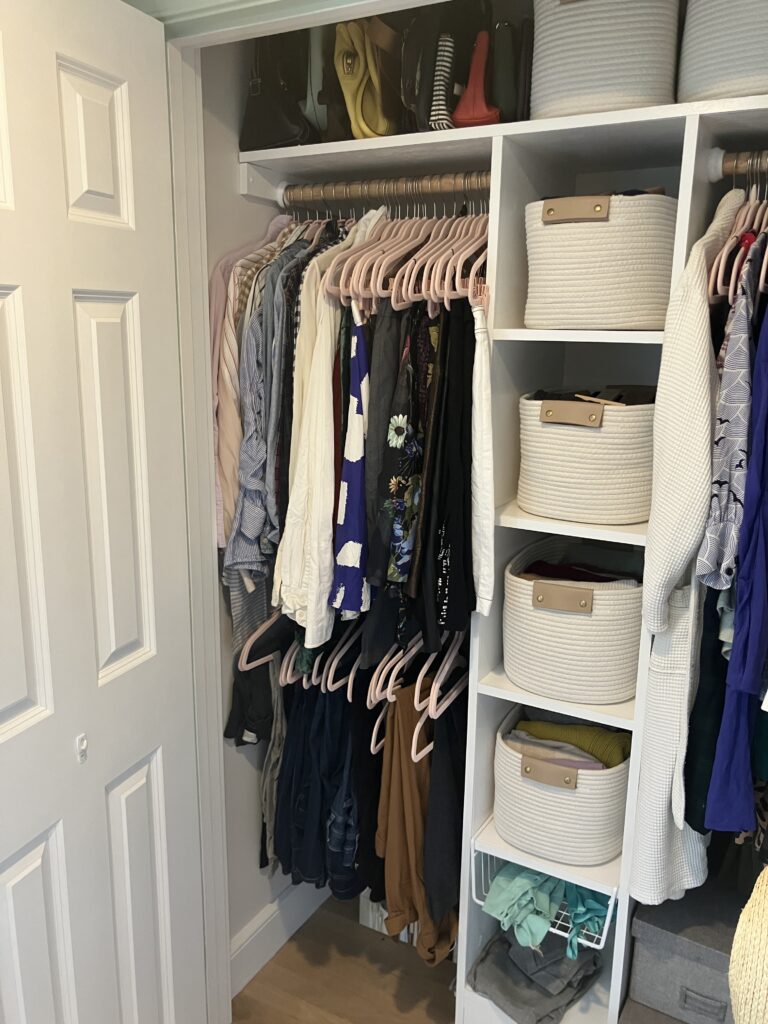
Because this was the end of the renovation, we had very little money and I wanted a built-in look. I did some research online and came up with a design, with the help of this wonderful tutorial. I chose the location of the top shelf based on the height of my largest purse and made the shelves equidistant. The shelf at the bottom was meant to hold clothes that have been worn already – I hate putting stuff I’ve worn back in my closet (gross!), but I also hate doing laundry.
My dad helped me build it in his workshop, and then we transported it in pieces to our new home, several weeks after we moved back in. Unfortunately, there is still one piece missing – can you see it?
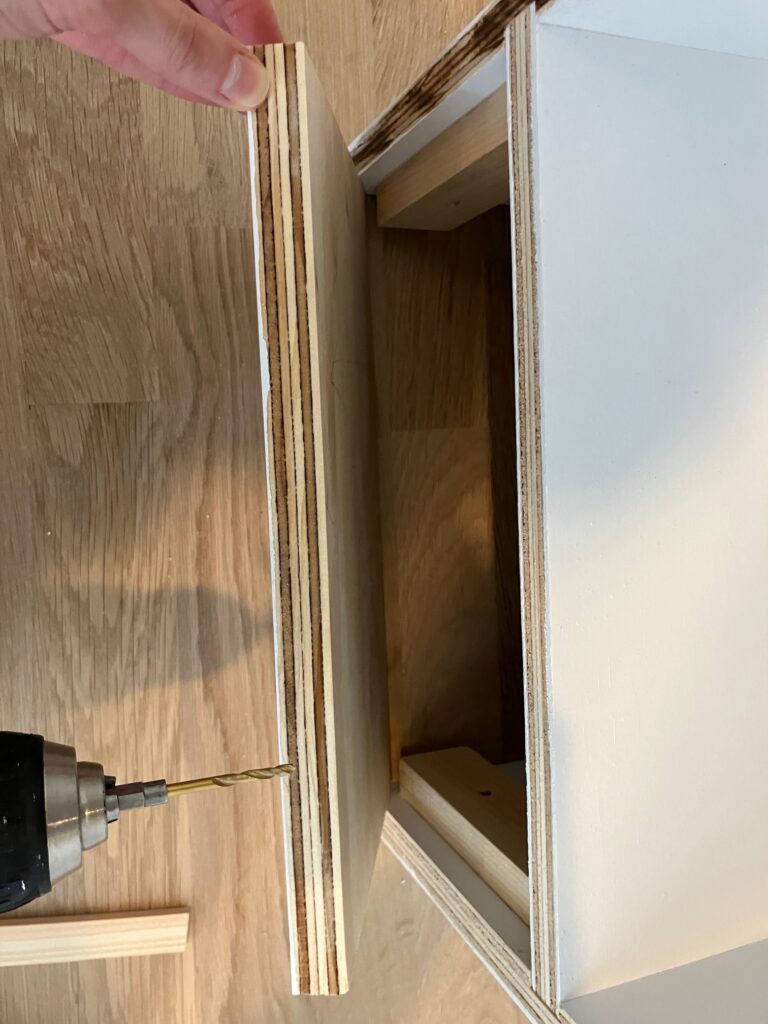
First, we cut all of the pieces to the right size on the table saw. Then I primed and painted them all. Sorry, no pictures of this process. Then we routed grooves on both sides of the plywood for the shelves. Then we made, in my opinion, our biggest mistake. We glued and screwed them. We should have bought a Kreg jig and used pocket holes, as the screws are visible from the sides of the unit. Not a big deal, since the clothes cover everything, but it bothers me from a coulda-shoulda-woulda standpoint.


Then we cut down the trim pieces. I bought nice 2×4’s and we ripped them down to be the same width as the plywood.

We brought everything to our house to install. It was interesting carrying the unit through 2′ of snow up a hill in my parents’ yard. Once in place, though, it was totally worth it!
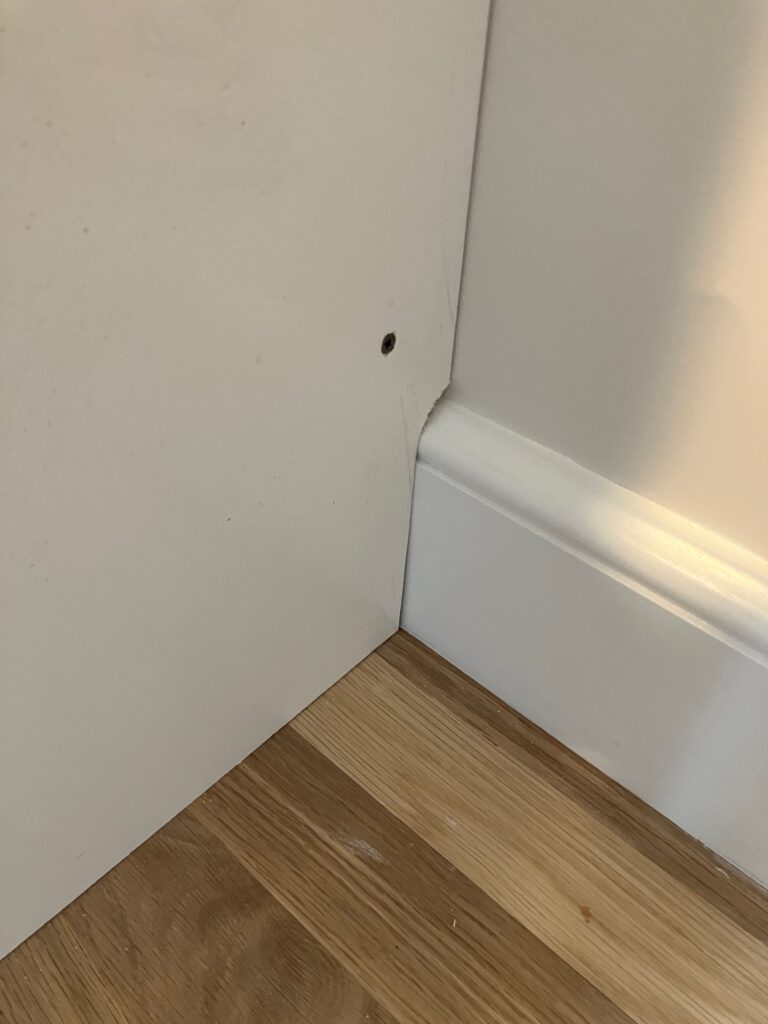
I used a jig saw to cut the bottom of the unit so it would go around the molding. Just in case I want to remove it, the molding is still intact! You can see one of our ‘mistake’ screws in the picture below. I did touch them all up with white paint so they wouldn’t be as visible.
Then I installed a front plate at the bottom. We had previously installed two backer pieces inside the unit so the plate would be flush with the front.

After installing side blocks to hold the top shelf up, it was trim time! Don’t worry, the color of our bedroom has since been changed. That’s a post for another time.

I used finishing nails to install the trim and then gave everything another coat of white paint. The most fun part came next, obviously, when I picked out and my mom treated me to a lot of these bins from Container Store. And of course, I ended up getting a new box to store those cashmere sweaters that I never wear.
P.S. I still haven’t completed the molding at the bottom of the unit. Who wants to cope it for me??

No Comments